> For the complete documentation index, see [llms.txt](https://docs.customer-photo-uploader.app/llms.txt). Markdown versions of documentation pages are available by appending `.md` to page URLs; this page is available as [Markdown](https://docs.customer-photo-uploader.app/user-manual/app-pages/product-galleries.md).
# Product galleries
This page is designed to easily configure the status of the uploaded photos to each of your products' pages and manage the list of photos.
### Page overview
On the Product Galleries page, there is a possibility to execute the following processes:
* Review Theme App Block Status.
* Search in the products list by using the Search bar.
* Sort the products in ascending and descending order by their name or by the status of the photo.
* Review the number of Pending, Approved, and Rejected photos by each product.
* Preview the Product Gallery on your Online Store.
### Main Theme App Block Status
This section allows you to see whether the Product Galleries are enabled or disabled on your Theme.
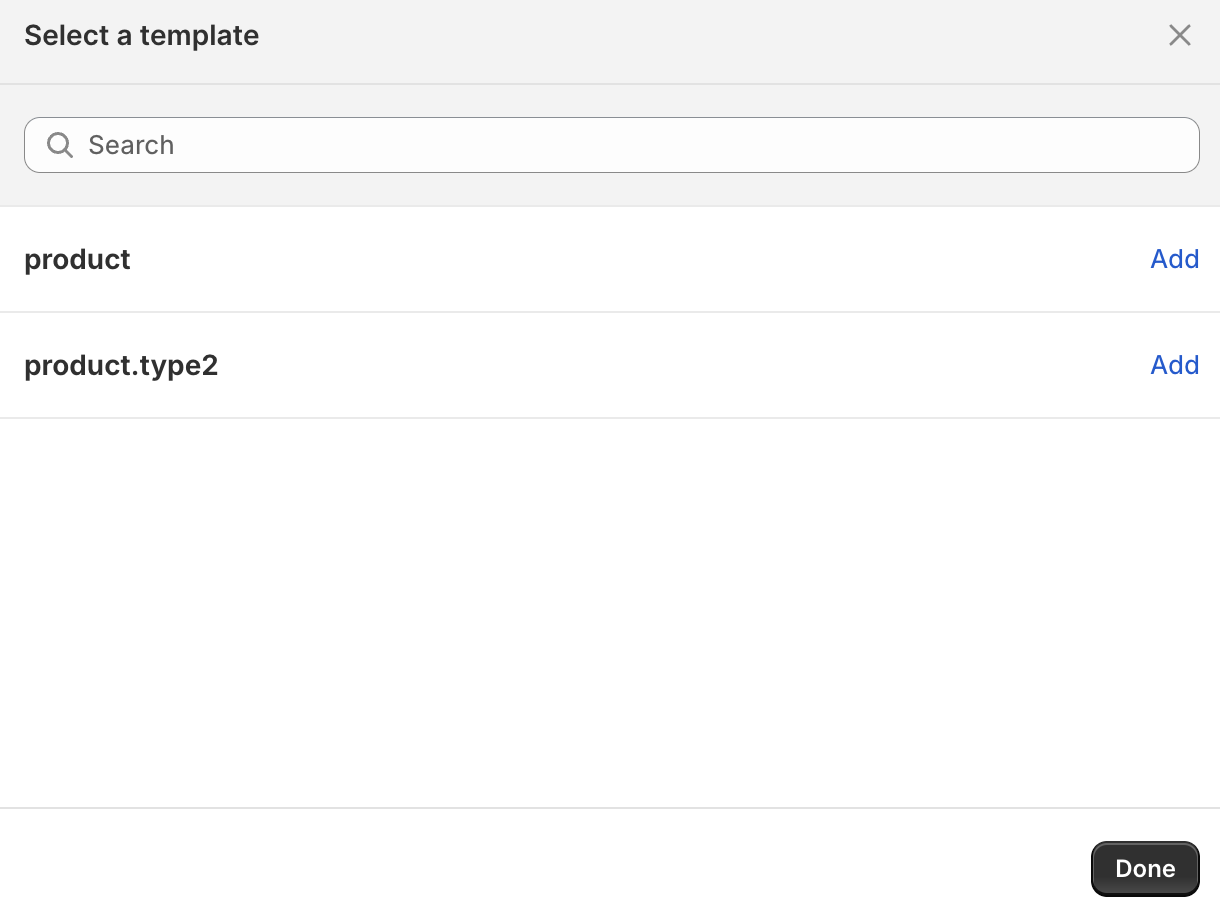
In case the Product Galleries are enabled, there is an option to review which exact templates they are added to.
Via the “Add to another template” feature, you can easily select from the drop-down list the needed template and add the gallery to more templates.
### Editing the Product Gallery
To edit the specific Product Gallery, you need to navigate to the respective product that you’d like to edit.
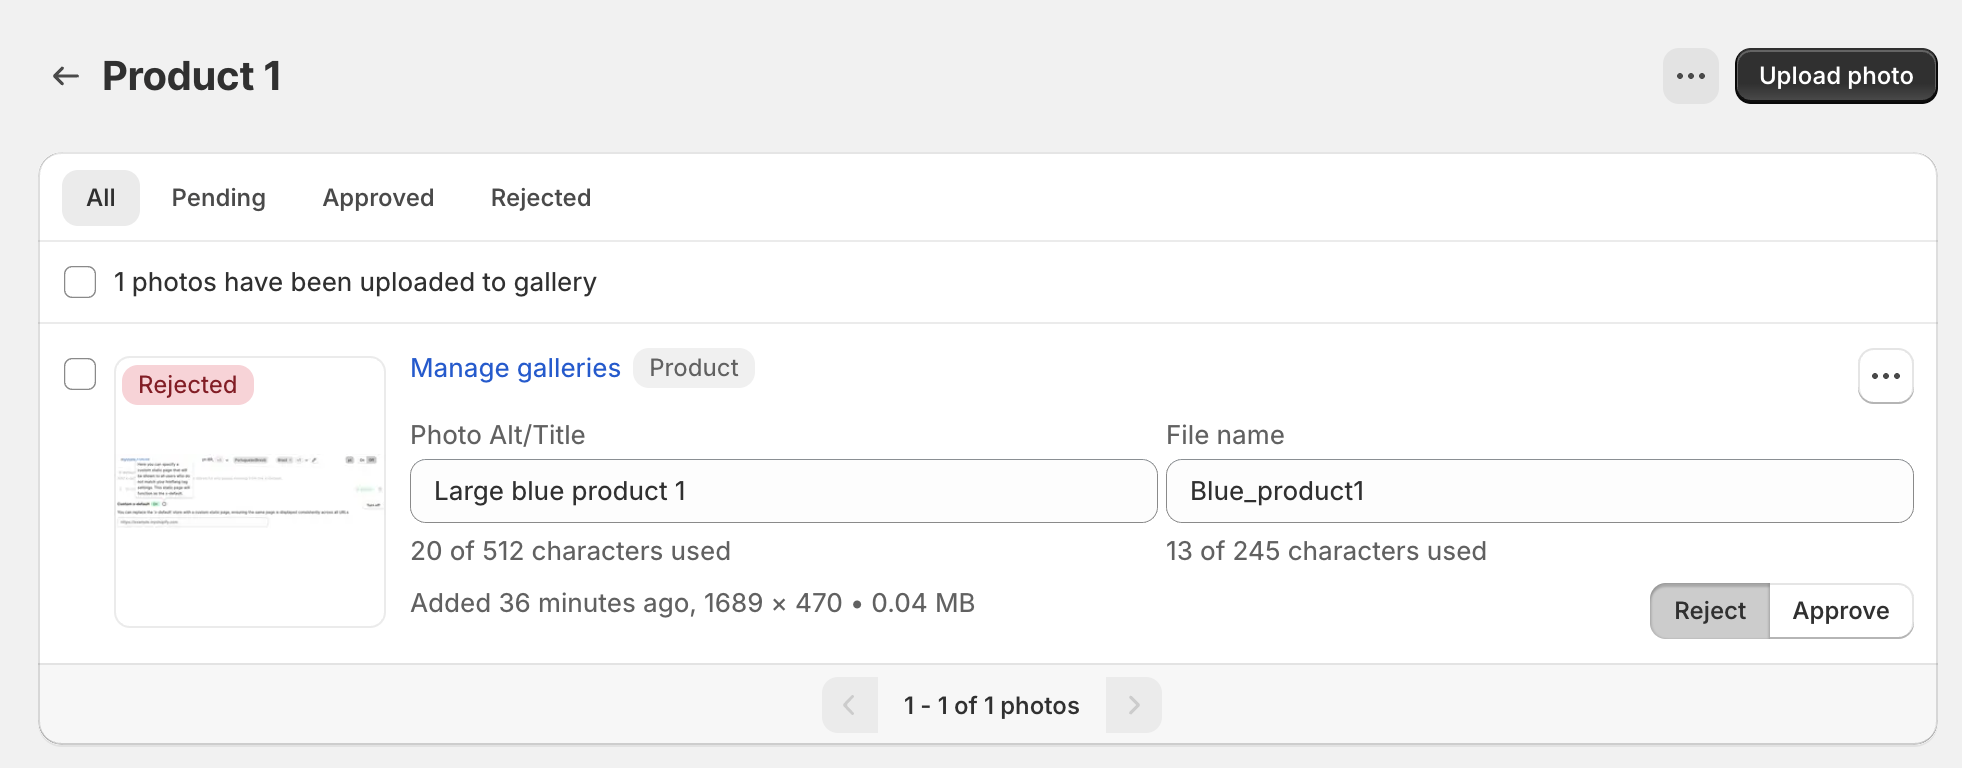
After clicking on a product, you’ll be redirected to the page with the advanced functions.
On this page, you can review the photos assigned to a specific Product Gallery by each of the statuses:
* All
* Pending
* Approved
* Rejected
#### Sort the photos in the gallery
To change the order in which the photos are displayed in this gallery, click the sorting icon in the top right corner of the photo list:
Then choose one of the sorting options:
* **Newest first** — the most recently added photos appear first.
* **Oldest first** — the earliest added photos appear first.
* **Manual** — arrange the photos in your own custom order.
* **Global** — follows the default sorting order from the [Settings page, Content Moderation tab](https://docs.customer-photo-uploader.app/user-manual/app-pages/settings/content-moderation); the current global value is shown in brackets (e.g., "Global (newest)").
The selected order defines how the approved photos appear in this gallery on your store as well.
#### Upload photo
This button on the Product Galleries page is utilized in the same way as on the Photos page. [Read more about it here.](/user-manual/app-pages/photos.md#upload-photo)
However, there are a few differences:
* On the Product Galleries page, you can not only upload new photos, but also add the photos that have already been uploaded to the Customer Photo Uploader app. To do this, use the **Choose from existing** button.\
\
Also, you can review this product’s page in your Admin or in the Store by using the respective buttons.\

* By using the Upload photo button on the Product Galleries page, you can only upload it to a specific Product Gallery.
{% hint style="info" %}
In case you uploaded the photo to one Product’s Gallery and would like to add it also to another product, use the Choose from existing button on the second Product’s Gallery page or via the [Manage galleries](/user-manual/app-pages/photos.md#assign-the-photo-to-the-gallery) button on the Photos page.
{% endhint %}
#### Change the status of the photo
In the Customer Photo Uploader application, the photo can have the following statuses:
* Processing
* Pending
* Rejected
* Approved
[Learn more information on each status and how to change them on this page. ](/user-manual/app-pages/photos.md#change-the-status-of-the-photo)
#### Assign the photo to the gallery
With the **Manage galleries** button, you can configure the assignment of a specific photo to any of your Custom or Product Galleries.
After choosing in each of the fields the necessary galleries, you’ll see:
* On the top left corner - the page on which the gallery photo will be shown.
* Under the Product Galleries field - products, on which pages the photo will appear.\

{% hint style="info" %}
The number of available Custom and Product Galleries of choice for an image depends on your Customer Photo Uploader subscription plan.
{% endhint %}
Additionally, on the page dedicated to a specific Product’s Gallery in the Customer Photo Uploader, you can perform [SEO image data editing](/user-manual/app-pages/photos.md#rename-the-photos-title-and-the-files-name), [link products to the photo (Shoppable)](https://docs.customer-photo-uploader.app/user-manual/app-pages/photos), [manage the image description, utilize the customer's email](/user-manual/app-pages/photos.md#delete-the-photo), [delete the photo](/user-manual/app-pages/photos.md#delete-the-photo)***,*** and [view the photo in Files](/user-manual/app-pages/photos.md#view-the-photo-in-files).
The advanced feature for the photo management that you can use on a Product Gallery page is the option of removing a particular photo from the Product Gallery. However, it’ll not be deleted completely. You’ll be able to add it to another Product or Custom Gallery via the Photos page.
### FAQs about Product Galleries page How do I edit a specific Product Gallery in Customer Photo Uploader?
Go to the Product Galleries page and select the product you want to edit. You’ll be redirected to that product’s gallery page, where you can review, upload, reassign, approve, reject, or remove photos. [Read more details here.](https://app.gitbook.com/o/jDrGly5oBnzLoU810gsv/s/ovhRTPVfyGDO7Ql07QPK/~/changes/7/app-pages/product-galleries#editing-the-product-gallery)
What is the difference between uploading photos here and on the Photos page?
On the Photos page, you upload photos to the Customer Photo Uploader app library, making them available for use across multiple products and galleries. Also, while uploading, you can only choose the Custom Gallery to add the photo right away. Still, you’ll be able to assign the photo to a Product Gallery later.
On the Product Galleries page, you can upload photos directly to a specific product’s gallery or add existing photos from the library using the Choose from existing option, but to add the picture to the Custom Gallery, you’ll need to do that via the Manage galleries button.
Can I add the same photo to multiple Product Galleries?
Yes. If you want the same photo to appear on more than one product, you can use the Choose from existing button in another Product Gallery or assign it via the Manage galleries option on the Photos page. However, remember that there are limitations for each plan.
How do I delete a photo from a Product Gallery?
Open the product’s gallery, find the photo you want to remove, and select the **Remove from this gallery** option. This way, the picture will be erased from a specific product’s gallery, but you’ll be able to add it to any other or to the Customer Gallery later via the Photos page.
To delete the photo completely from the Customer Photo Uploader app, use the Delete button on any of the pages in the application.