> For the complete documentation index, see [llms.txt](https://docs.customer-photo-uploader.app/llms.txt). Markdown versions of documentation pages are available by appending `.md` to page URLs; this page is available as [Markdown](https://docs.customer-photo-uploader.app/user-manual/app-pages/dashboard.md).
# Dashboard
The Dashboard is the main page of the app: track setup progress, theme app block status, recently uploaded photos, and contact support.
The Dashboard is the main page of the app. Here you can review the [progress of the app’s installation](#setup-guide), [Theme App Embed Block Status](#theme-app-block-status)***,*** [Recently uploaded photos](#recent-uploaded), and [contact the Support team](#need-help).
The page is divided into several sections, each with a specific purpose.
### Upload Photo
The **“Upload Photo”** button allows you to quickly add images to your Custom Galleries. This is especially useful if you want to include photos shared by your clients on social media or other sales platforms.
[Read more about this button here.](/user-manual/app-pages/photos.md#upload-photo)
### Setup Guide
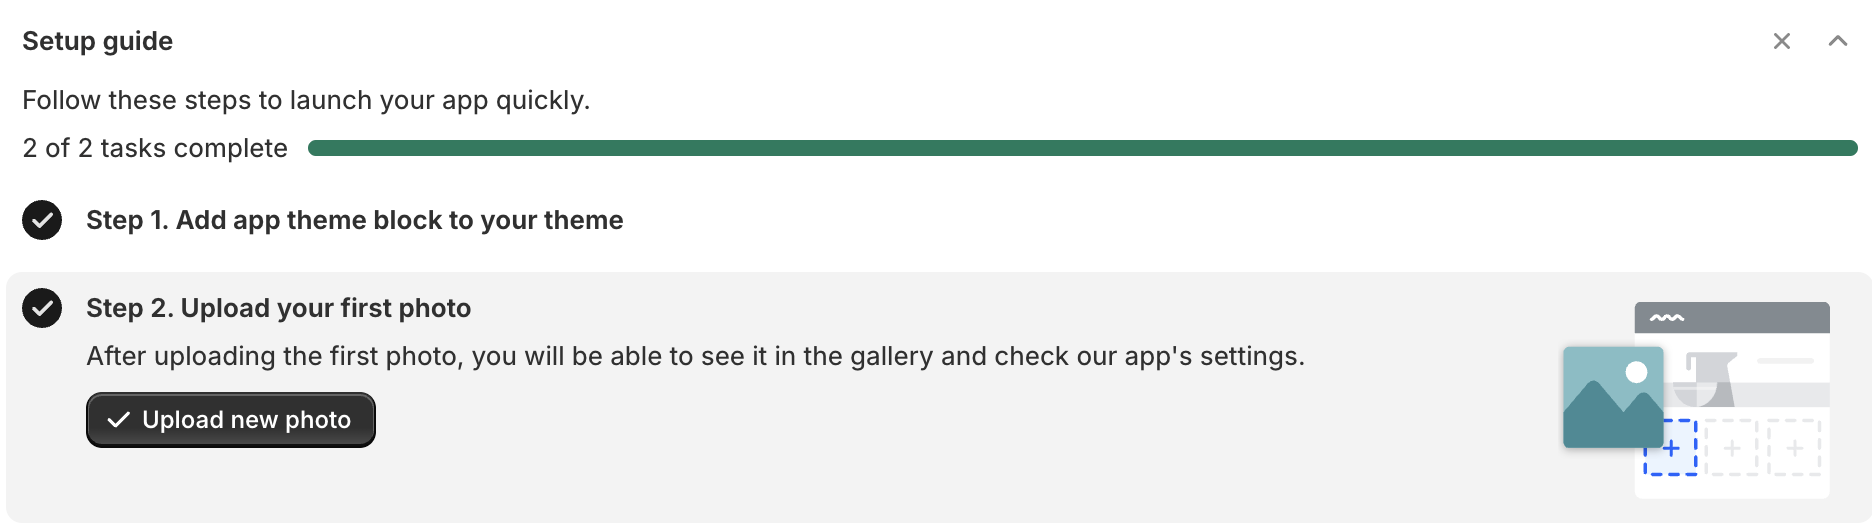
Use this section to monitor the installation and configuration progress of the Сustomer Photo Uploader app:
* Progress bar – displays the overall setup completion status.
* Step-by-step details – expand each step to view additional information.
*Note:* If any step requires your action, the progress bar will highlight it, and the checkbox next to that step will remain unchecked.
A guide on the application setup can be found on the [Installation Instructions page](/user-manual/getting-started/installation-instructions.md).
### Main Theme App Block Status
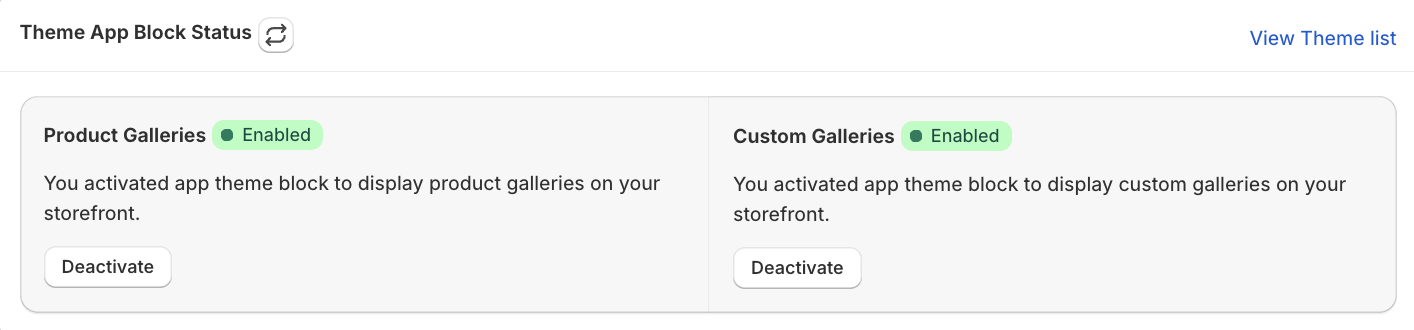
This section of the dashboard displays the overall integration status of the Customer Photo Uploader app for your store. It allows you to instantly see whether the Theme App Block for the Customer Photo Uploader app is enabled across all your themes or the necessary ones.
It is divided into 2 blocks, indicating the status of enabling Product Galleries and Customer Galleries in your current Theme.
Possible statuses include:
* **Enabled** – the Theme App Block is enabled in the main theme.
* **Disabled** – the Theme App Block is disabled in the main theme.
Tools in this section:
* **Refresh status** – update the displayed statuses to the latest information.
* **View Theme list** – view the detailed statuses for each theme.
* **Activate/Deactivate -** redirect to Customize mode of your theme to turn on or turn off the gallery.
#### All available themes statuses
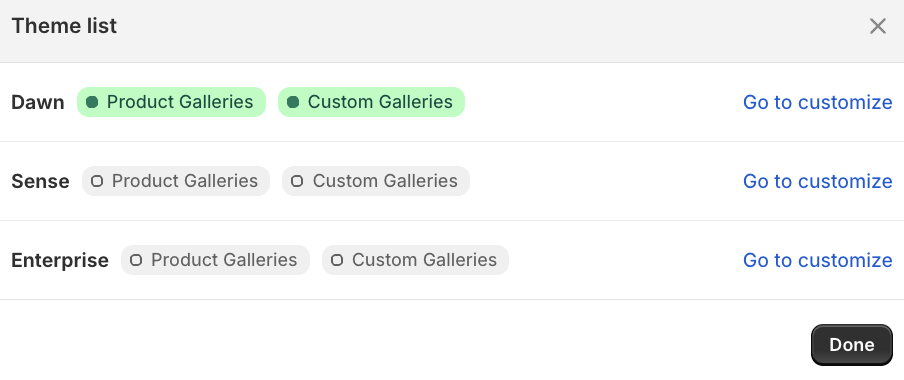
By utilizing the View Theme List button, you can review the status of your Custom and Product Galleries on each of the available themes that you have on your store.
Tools in this section:
* **Go to customize** – quickly open a Customize mode of a specific theme.
### Recently uploaded
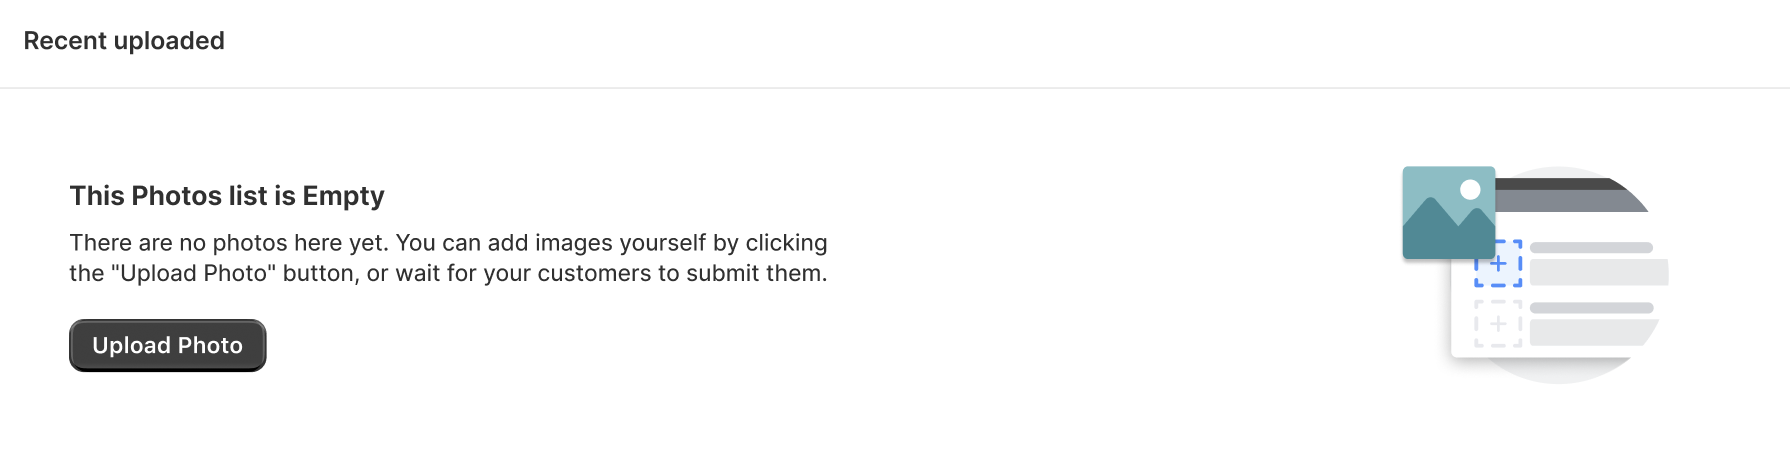
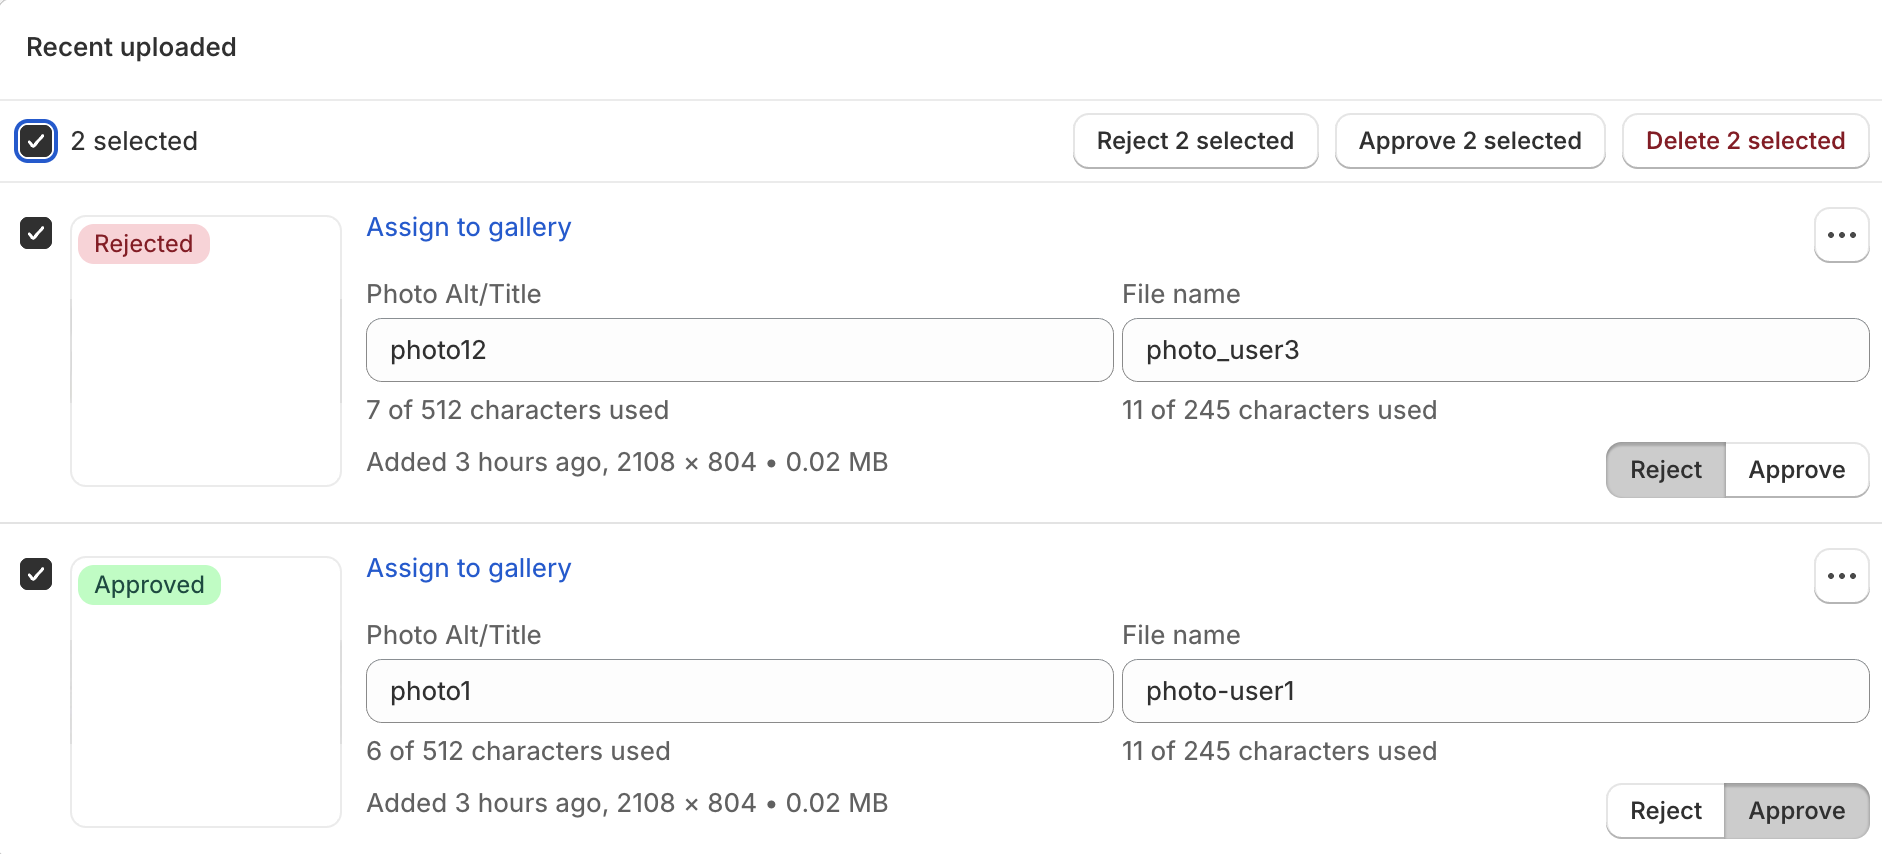
In this section, you can review and manage all the recently uploaded photos, both by your customers and from your side. On the Dashboard page, you can add new photos to your Custom Galleries by using the Upload Photo button at the beginning of the page or in the block here if that’s your first photos uploaded to the app.
In terms of photo management, you can execute the following processes:
* **Assign the photo** to a specific gallery and choose on which product pages it will be displayed.
* Decide whether the photo will be shown on your store’s website by **rejecting or approving** it. You can also define this by editing the pictures in bulk.
* Edit the **Photo Alt/Title** and the **File name**.
* Manage the image's **Description** and the **Email** fields.
* **View and edit** the photos in Files.
* **Delete** the photos.
Read more about the photo management in the Customer Photo Uploader app [on this page.](/user-manual/app-pages/photos.md)
### Need help?
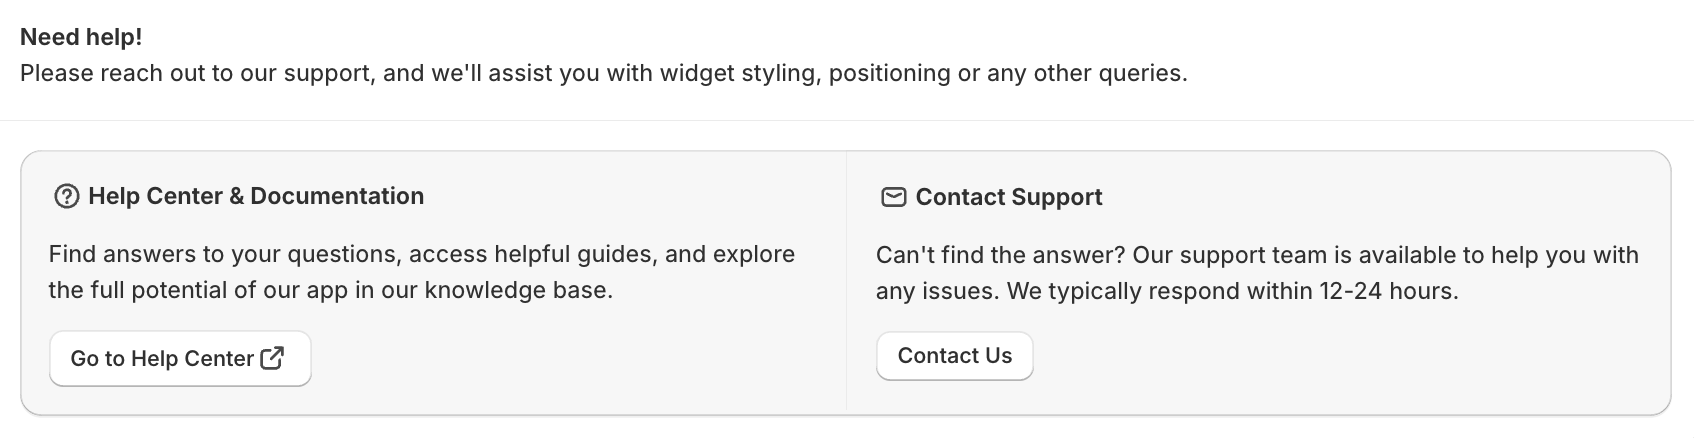
Here, you can choose the most convenient option for you to receive assistance with the Customer Photo Uploader. We care about our clients, so there are 2 variants:
* **Help Center & Documentation** - review the detailed instructions, read the FAQ, and find the answers to your questions without outreach.
* **Contact Support** - get help from our Support Team, which is always happy to hear from you.
### FAQs about Dashboard page: What file formats and sizes are supported?
The app supports standard image formats such as PNG, JPG, JPEG, GIF, WEBP, HEIC. Maximum file size: 10Mb. Make sure your files do not exceed the maximum upload size limit specified. If a file is too large or in an unsupported format, the upload will fail.
How do I assign a photo to a specific gallery in Customer Photo Uploader?
When uploading a photo, select the desired gallery from the dropdown menu in the upload window. If needed, you can also reassign a photo to another gallery later via the [Recently Uploaded section](/user-manual/app-pages/dashboard.md#recent-uploaded) on the Dashboard page or on the [Photos page](/user-manual/app-pages/photos.md).
How do I upload photos to my Custom Galleries?
Click the **Upload Photo** button at the beginning of the Dashboard page, or in the Recent Upload block if there were no photos uploaded yet, select the pictures you want to upload, choose the gallery, set its status (Approved or Pending), and confirm the upload.
What’s the difference between Approved and Pending photo statuses?
* **Approved:** The photo will appear on your store’s product pages and galleries.
* **Pending:** The photo is uploaded but not yet visible to customers. You can review and approve it later, or reject it if it’s no longer relevant.